Prerequisites to follow this article
- AWS account
- aws-cli with the property permissions
- Node.js to use Serverless Framework
- Go
Why use a AWS lambda?
AWS Lambda is a serverless computing service provided by Amazon Web Services (AWS). It allows you to run your code in response to events without needing to provision or manage servers. With AWS Lambda, you can focus solely on writing your application code while AWS takes care of the infrastructure and scaling for you.
Pros
- Cost: You only pay for the compute time your functions consume. There’s no need to pay for idle server resources, making it cost-effective for applications with varying workloads.
- Auto-Scaling : Lambda automatically scales your code to handle incoming requests or events. It can run thousands of instances of your function in parallel.
- Stateless : Lambda functions are designed to be stateless, meaning they don’t retain memory between invocations. You can use external storage services for persistent data.
Const
- Cold Start Latency : Cold starts occur when a function is invoked after being idle for a period of time. Cold starts can introduce latency in your application, which might not be suitable for all use cases.
- Limitations: Lambda functions have a maximum execution time limit and have predefined resource limits (CPU, memory) that might not be sufficient for certain applications.
Why use a AWS Serverless Framework?
The Serverless Framework is a tool written in Node that simplifies the deployment and management of serverless applications and functions. It abstracts away many of the complexities involved in setting up and configuring serverless services like AWS Lambda, API Gateway, and others.
Get Started
Step 1: Install Serverless Framework
Open your terminal and run the following command to install the Serverless Framework globally:
| |
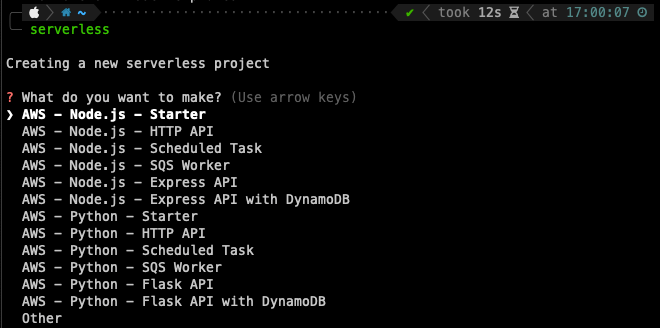
NOTE : If you type serverless in the terminal you can choose a template to generate a skeleton of the project.
 Serverless crete skeleton project
Step 2: Create simple Health Checks in Go
Create a directory from the project and initialize a Golang project.
NOTE : Feel free to change the name of the project.
| |
Finally, create your main.go with a simple health check.
| |
Then install all dependencies
| |
Step 3: Compile de project
| |
Step 4: Create a Serverless config file
Create serverless.yml on the root project with the content:
| |
NOTE : You can find the all information on the oficial documentation: https://www.serverless.com/framework/docs/providers/aws/guide/serverless.yml
Step 5: Deploy!
Thanks to the Serverless framework it is very easy to deploy any application, just serverless deploy on the console and the magic happens :-)
| |
NOTE : If you get more information about the deploy you can add --verbose parameter.
 Serverless deploy output
And that’s all! the framework takes the responsibility to create the necessary infrastructure on AWS and return the URL to the defined endpoint.
You can try the endpoint by CURL
| |
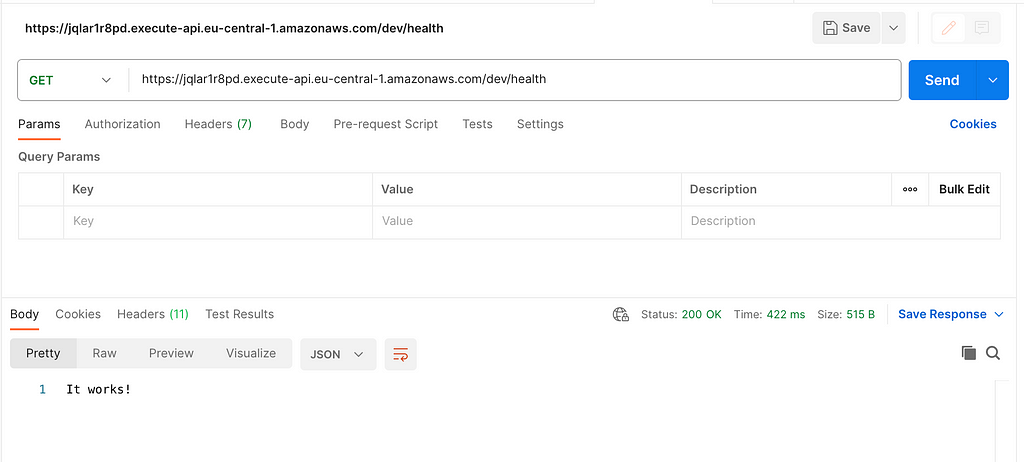
Or if you prefer you can try via Postman
 Try the endpoint by postman
You can also use the same Serverless Framework
| |
 Try the service by Serverless Framework
Bonus
You can remove all the application including the infrastructure by de Serverless Framework.
| |

Conclusion
In this article we have been able to see step by step how to create a very simple application with GO and deploy it using Serverless Framework, a great tool that makes our life much easier.
I did not pretend to make a very detailed article, I just wanted to show how to make a simple application from zero.
You can read the article on Medium